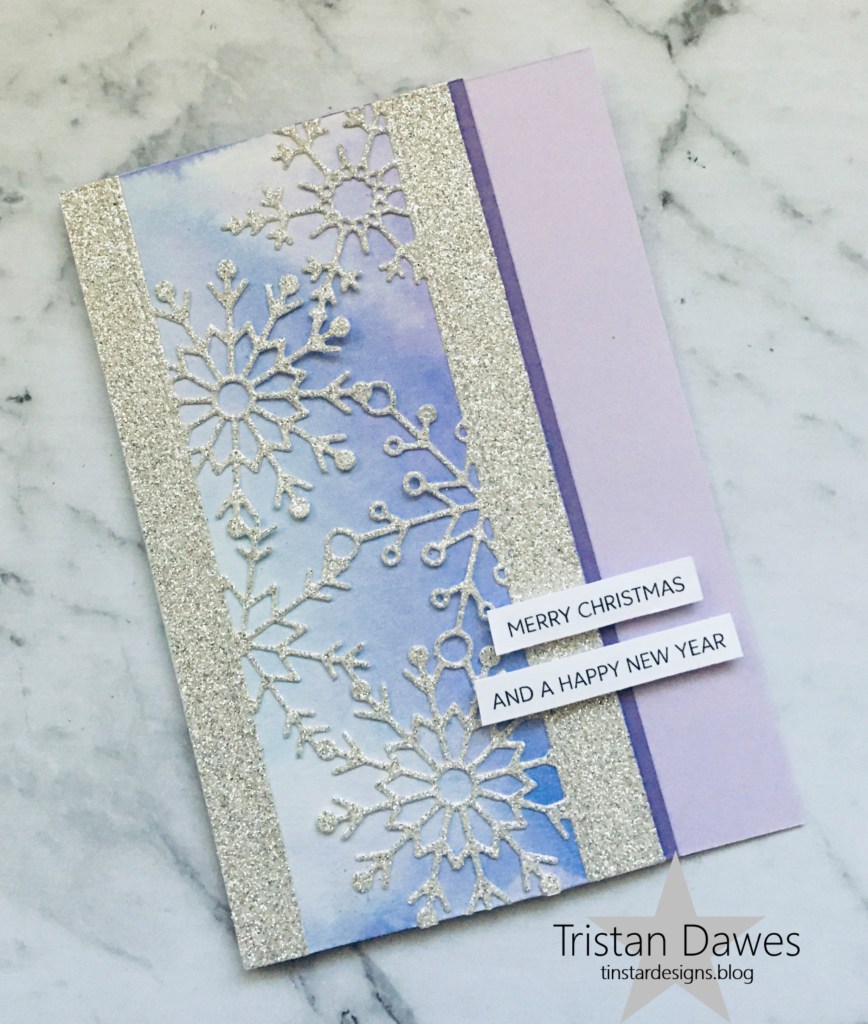
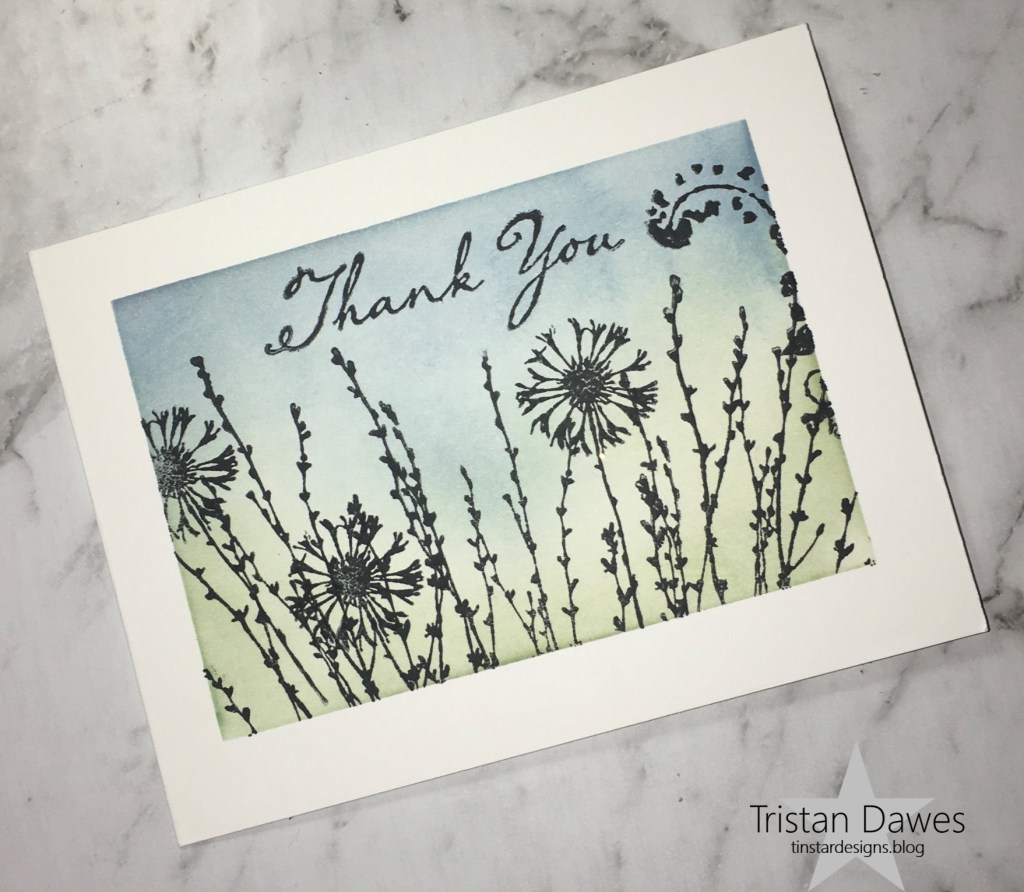
Hello there, it’s time for another Watercooler Wednesday Challenge and Kath is our challenge host with an all about occasions theme this week!
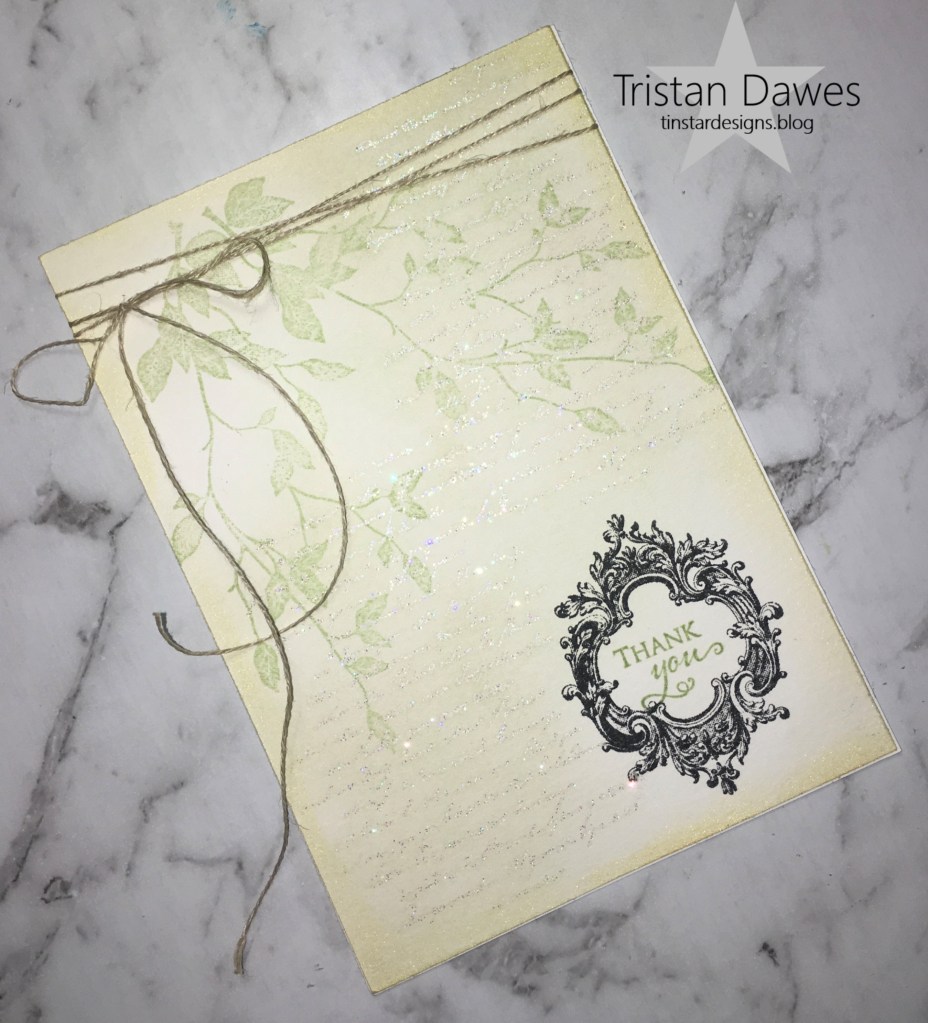
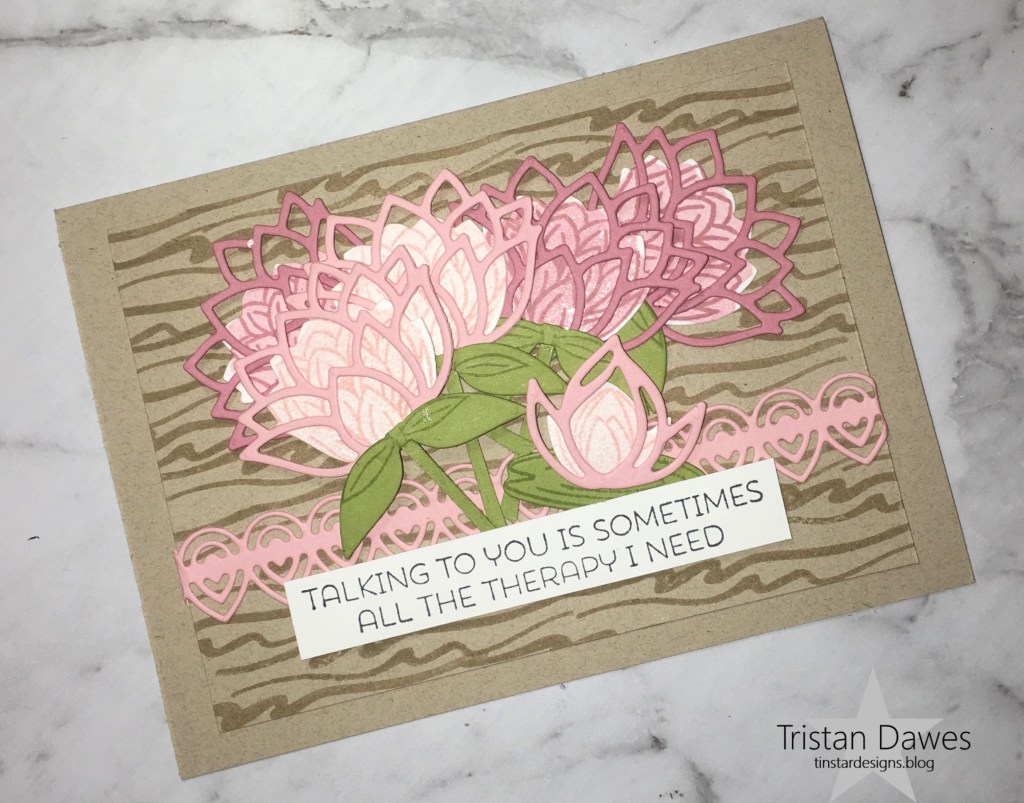
I used a new stamp and die set from Stampin U called ‘Lovely lily pad’ with a sentiment from ‘Thanks for the laughs’. Both sets have some great images and sentiments and I just love those dies.
Come join in the fun and make a card for an occasions of your choosing. Check out the projects that the other artists at Watercooler Wednesday Challenges have created, take the challenge and link your creation to the challenge post. We’d love to have you join us. You have until Tuesday, 4th February at 10:00 Melbourne Time or Monday 3rd February 5pm US Mountain Time to link up your project.
Thanks for looking and have a great day.